In the fast-paced world of Instagram, capturing the perfect shot can be a challenge. However, with the use of a timer on your photos, you can ensure that every moment is flawlessly captured. This article will guide you through the process of setting up and activating the timer feature on Instagram, as well as adjusting the settings for different shots. Say goodbye to blurry selfies and hello to perfectly timed photos that will make your followers stop scrolling and engage with your content.
Key Takeaways
- Using a timer on Instagram photos allows for capturing the perfect shot without external assistance.
- The timer feature provides freedom to set up the shot exactly as desired and experiment with different poses and angles.
- Using a tripod or stable surface for steady shots enhances the photography experience and results in sharper and more focused images.
- Adjusting the timer settings based on the type of shot and practicing with the timer feature helps in capturing well-timed and memorable moments.
Why Use a Timer on Instagram Photos
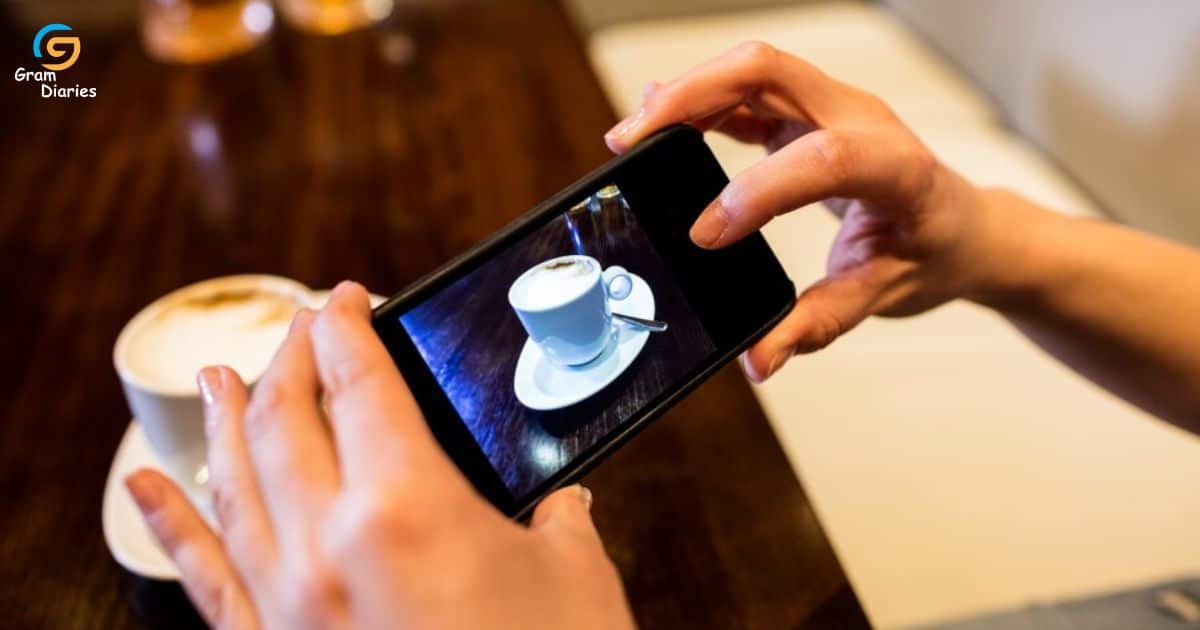
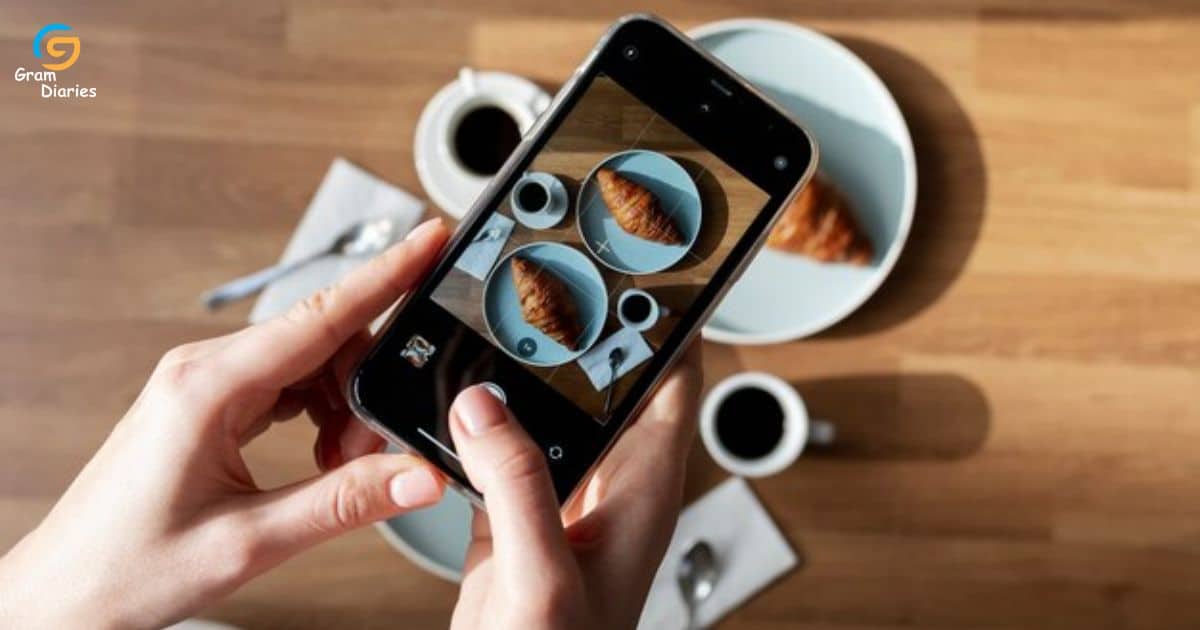
When using a timer on Instagram photos, it allows users to capture the perfect shot without the need for external assistance or rushing the process. There are several benefits of using a timer on Instagram photos. Firstly, it gives you the freedom to set up your shot exactly how you want it, without having to worry about holding the camera or phone steady.
This can result in sharper and more focused images. Secondly, using a timer allows you to experiment with different poses and angles without feeling rushed. You can take your time to find the best composition for your photo. Lastly, a timer can also be helpful for group photos, as it allows everyone to get ready and be in the frame without the need for someone to take the photo. To use the timer effectively, make sure to set the appropriate time delay and use a tripod or stable surface to avoid shaky shots.
Setting Up Your Timer Options
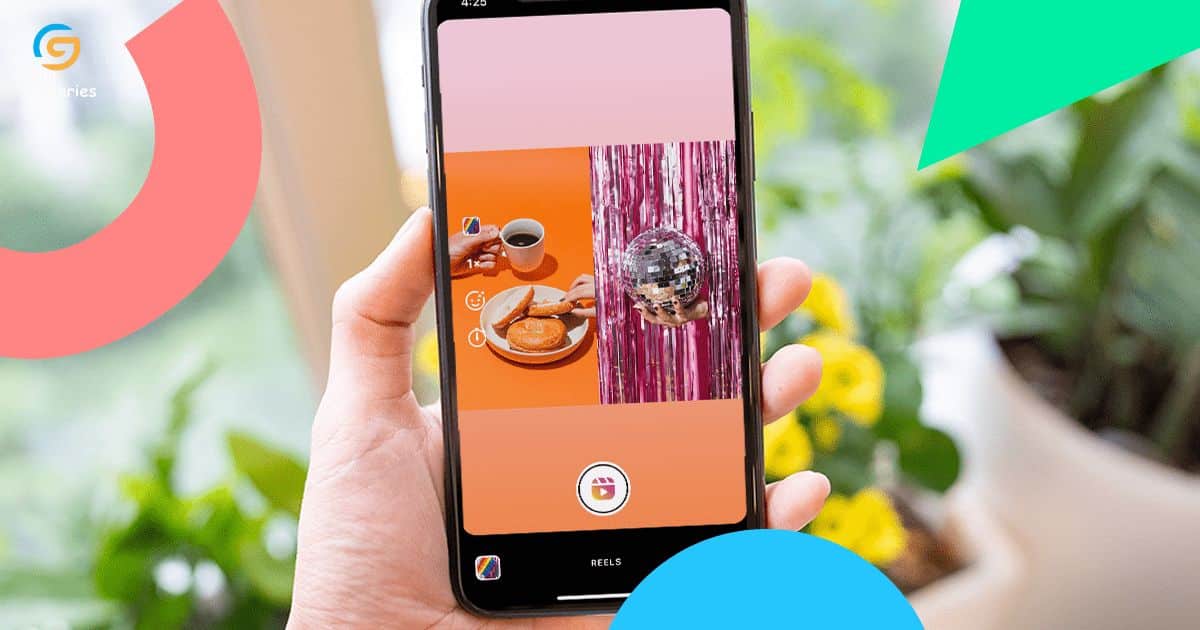
To set up your timer options on Instagram, navigate to the camera interface and access the timer feature. This feature allows you to delay the capture of your photo, giving you enough time to get into position or include everyone in a group photo. Once you tap on the timer icon, you can choose between a 3-second or 10-second delay.
The timer will then count down, giving you ample time to strike a pose, adjust your composition, or join your friends for a memorable group shot. Using a timer on Instagram offers several benefits. It ensures that everyone is included in the photo, eliminates the need for a selfie stick or a photographer, and allows for more natural and candid moments. So, go ahead and explore the timer feature on Instagram to enhance your photography experience.
How to Activate the Timer Feature
To activate the timer feature on Instagram, you will need to access the camera interface. Once you open the camera, you will see various options at the bottom of the screen, including the timer icon. Tap on the timer icon to activate it.
The timer feature allows you to set a countdown before the photo is taken. This is especially useful when taking group photos, as it gives you time to position yourself and join the group before the photo is captured.
To use the timer for group photos, follow these simple steps:
- Open the Instagram app and access the camera interface.
- Tap on the timer icon at the bottom of the screen.
- Choose the desired countdown duration (3 seconds, 10 seconds, or custom).
Adjusting Timer Settings for Different Shots
To customize the timer settings for various shots, users can adjust the countdown duration according to their specific needs. Here are four steps to help users adjust their timer settings effectively:
- Determine the ideal countdown duration: Depending on the type of shot you want to capture, decide on the appropriate countdown duration. For example, if you want to take a group photo, a longer countdown may be necessary to give everyone enough time to get into position.
- Use a tripod for timer shots: To ensure a steady and blur-free photo, it is recommended to use a tripod when using the timer feature. This will help eliminate any camera shake caused by pressing the shutter button.
- Troubleshooting timer issues: If you encounter any problems with the timer feature, such as the countdown not starting or the photo not being captured, try restarting the app or updating it to the latest version. If the issue persists, consider reaching out to Instagram support for further assistance.
- Experiment and practice: Adjusting timer settings for different shots may require some trial and error. Take the time to experiment with different countdown durations and practice using the timer feature to improve your photography skills.
Capturing the Perfect Moment With a Timer
Users can effectively capture the perfect moment with a timer by frequently practicing and mastering the timer feature on Instagram. To ensure steady shots, it is recommended to use a tripod for timer shots. This helps eliminate any shakes or blurriness that may occur when holding the device.
Additionally, when timing group photos, it is essential to consider the number of people and their positions. It’s best to give everyone enough time to get into position before the timer goes off. Communicating with the group and giving clear instructions can also help in achieving a well-timed shot. By experimenting with different timer settings and practicing regularly, users can enhance their skills and capture memorable moments effortlessly.
Frequently Asked Questions
Can I Use a Timer on Instagram Photos With Any Type of Smartphone?
Yes, it is possible to set a timer on Instagram photos with different smartphones. However, whether or not you can use a timer without using the native camera app may vary depending on the phone’s features and the Instagram version.
Is It Possible to Adjust the Timer Settings for Multiple Shots at Once?
Adjusting timer settings for multiple shots at once on Instagram is not possible. However, using a timer for group shots can be achieved by manually setting the timer for each photo. Here are some tips for taking perfect timed Instagram photos.
Can I Use the Timer Feature While Recording Instagram Videos?
Yes, you can use the timer feature while recording Instagram videos. By accessing the timer option in the Instagram camera, you can set a countdown for your video recording, allowing you to capture the perfect moment. Additionally, you can also set a timer for Boomerang videos on Instagram.
Are There Any Limitations on the Duration of the Timer for Instagram Photos?
There are limitations on the duration of the timer for Instagram photos. While the timer feature offers benefits such as hands-free capturing, users should be aware that the maximum time limit for a timer is 60 seconds.
Can I Use the Timer Feature With Third-Party Camera Apps on Instagram?
The timer feature for Instagram allows users to set a specific duration for their videos and stories. However, it is important to note that the timer feature is only available within the Instagram app and cannot be used with third-party camera apps.
Conclusion
In conclusion, using a timer on Instagram photos can be a useful tool for capturing the perfect moment. By setting up the timer options and activating the feature, users can adjust the timer settings for different shots and ensure they are in the frame. This allows for more flexibility and creativity in photography, ultimately enhancing the overall quality of Instagram posts. So, give the timer feature a try and see how it can elevate your Instagram game!